Apple Mac OS Printer Setup Guide
This will guide you through the process of setting up a thermal printer on Mac OS for use with this online ticketing service.
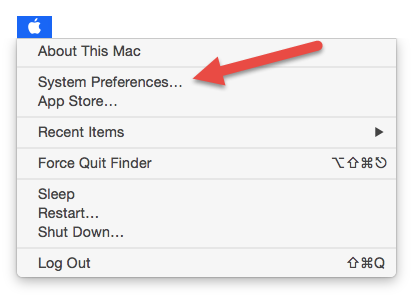
Step 1
From the apple menu, select System Preferences.
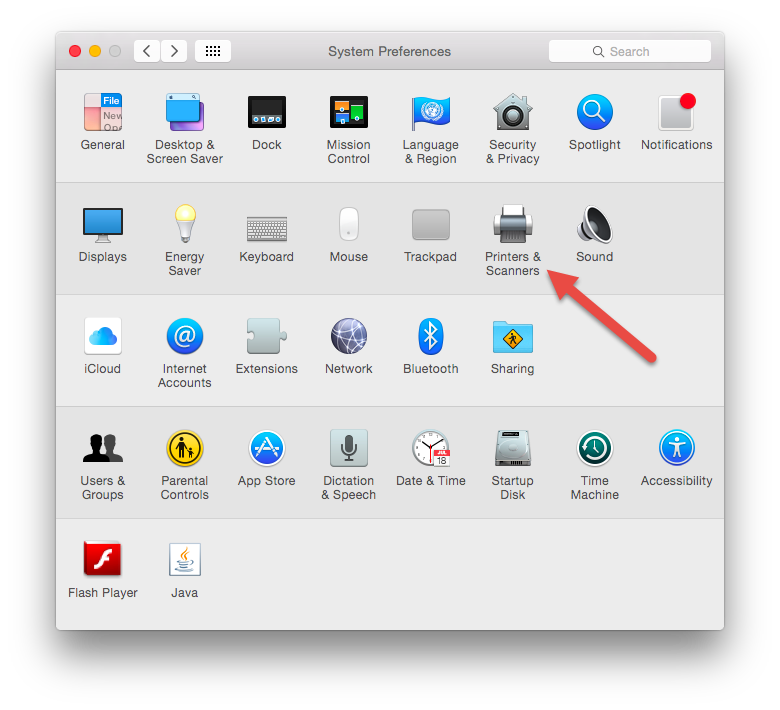
Step 2
Open the Printers & Scanners control panel.
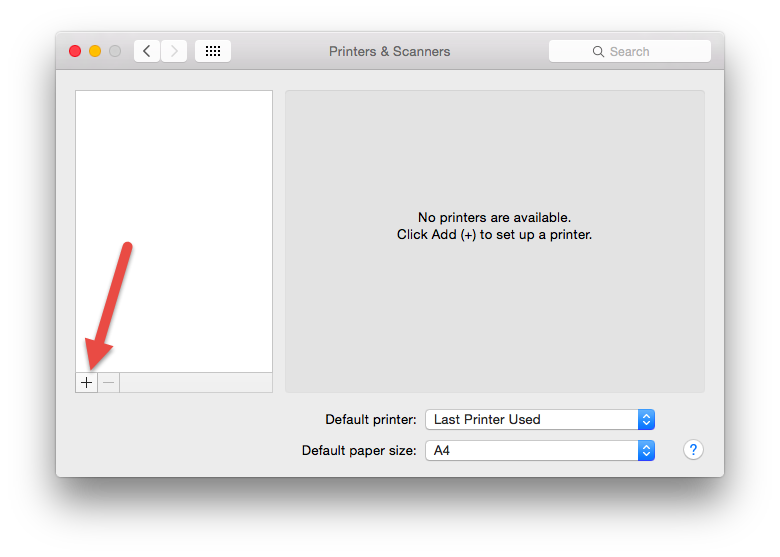
Step 3
Click the plus icon at the bottom of the printer list to add a new printer.
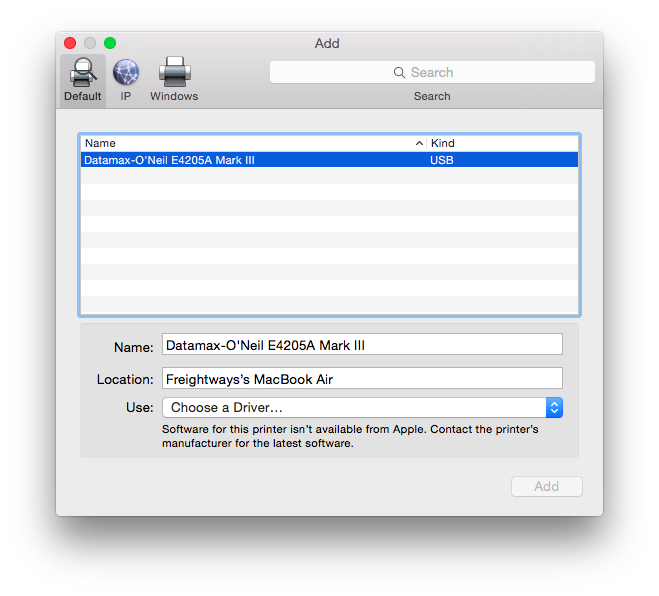
Step 4
You should see your printer connected by USB in the list. Select "Choose a Driver..."
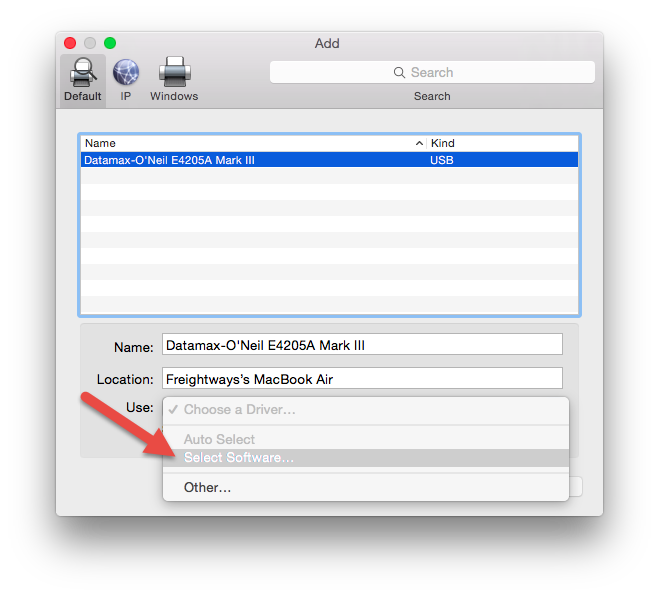
Step 5
Select "Select Software..." from the drop down.
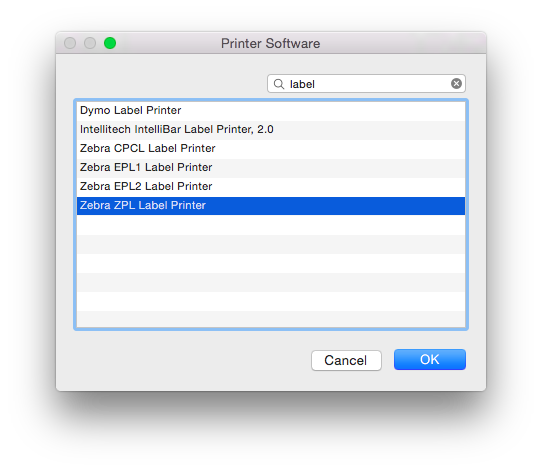
Step 6
Select Zebra ZPL Label Printer printer from the available options. While this driver is not the correct driver, it will allow thermal printing of labels to a DataMax Printer.
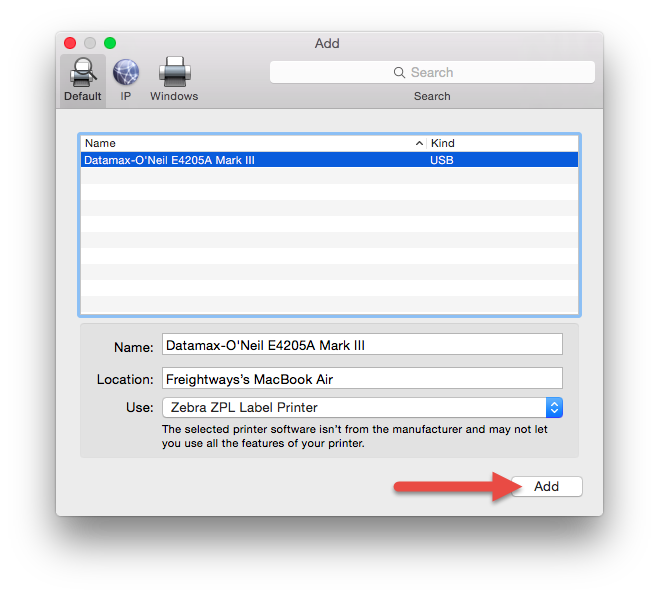
Step 7
Click Add, your printer will then be configured for your Mac.
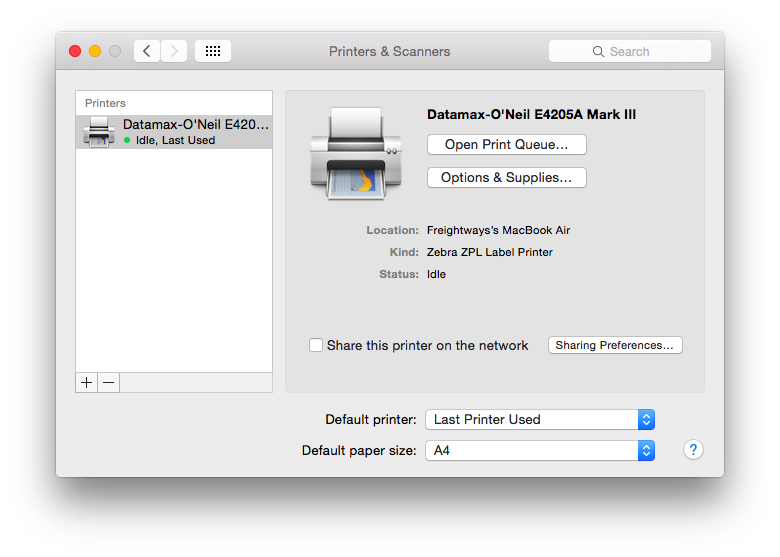
Step 8
You will now see the printer in the printers list.
Step 9
You can now set up your printer on the Printer Setup page and print a test label.