Windows XP Printer Setup Guide
This will guide you through the process of setting up a thermal printer on Windows XP with Service Pack 3 for Pass The Parcel
Windows XP requires a special driver to be installed. You can download this now and extract/decompress the zip file ready for later. Download Driver.
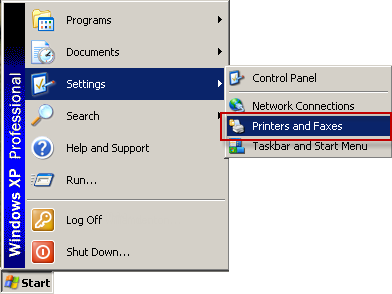
Step 1
From the start menu, select Settings -> Printers and Faxes
Step 2
Select Add a Printer frin the printer tasks option list

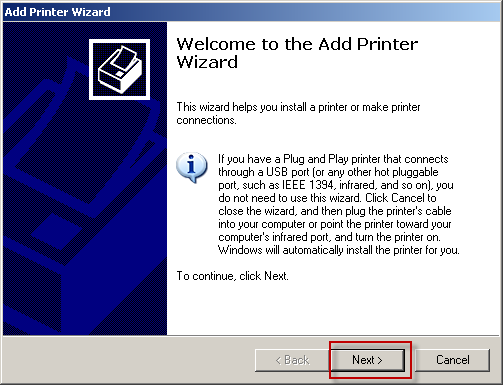
Step 3
This will start the add printer wizard, click next to start
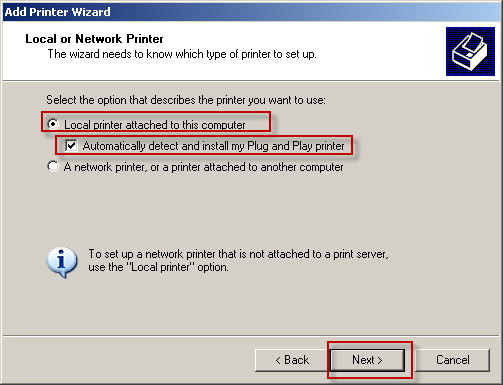
Step 14
Add a local printer and ensure that the check box for "Automatically detect and install my Plug and Play Printer" is checked
Step 5
The wizard will search your computer for the new printer

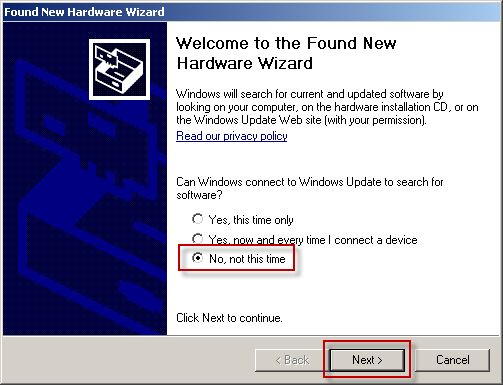
Step 6
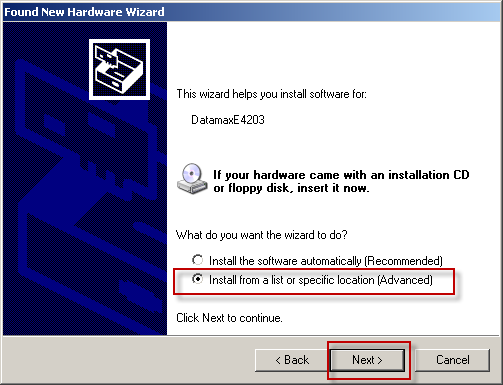
The wizard will prompt you to choose where to install the device driver from, you do not want to use windows update
Step 7
Select "Install from a list or specific location"
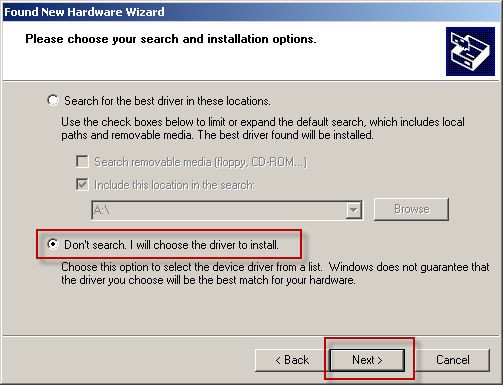
Step 8
Select "Don't Search, I will choose the driver to install"
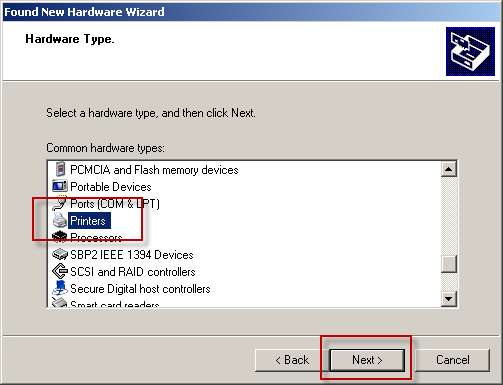
Step 9
Scroll down the list and select Printers
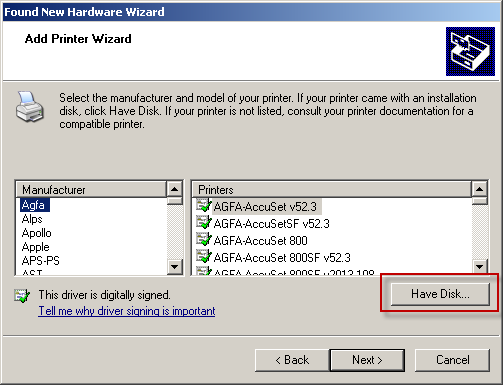
Step 10
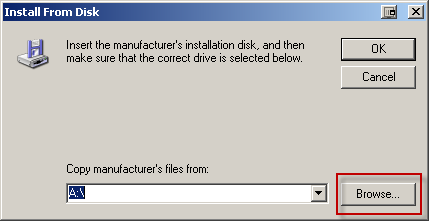
We have already downloaded the driver needed for this printer, select the have disk option
Step 11
Click the browse button
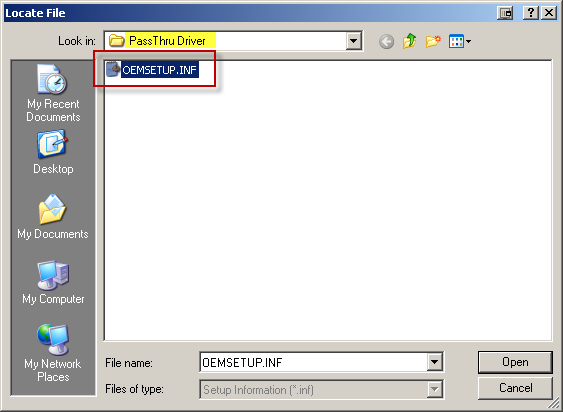
Step 12
Navigate to the place you extracted the driver folder to (probably your downloads folder). Select the OEMSETUP.INF file and click Open
Step 13
The path your drivers wasextracted to will appear, click OK

Step 14
The driver is now selected, click next
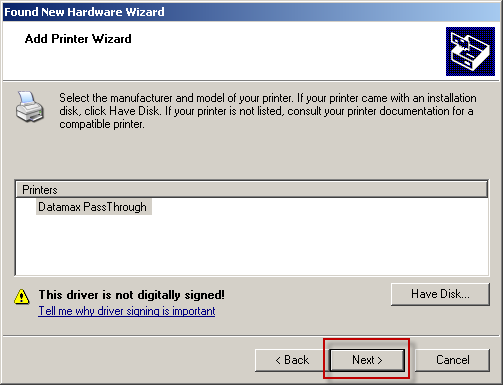
Step 15
As this driver is unsigned windows may warn you, this is OK, click yes

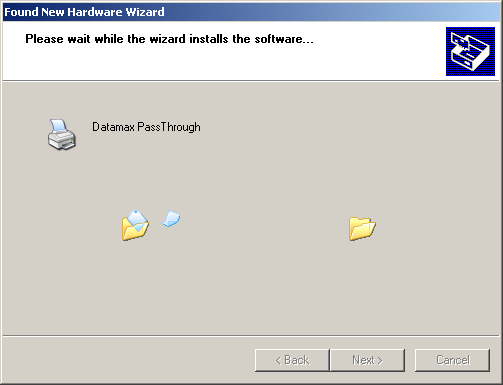
Step 16
Windows will now install the driver
Step 17
The add New Hardware Wizard is now complete. Click Finish, this will return you to the Add Printer wizard

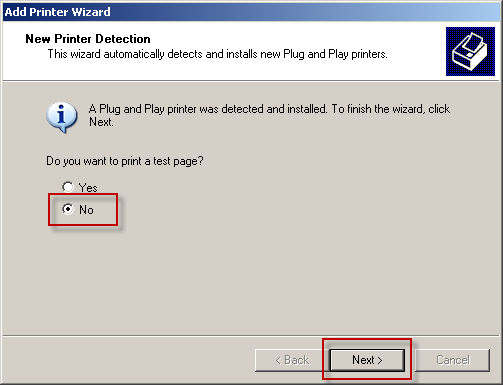
Step 18
You do not want to print a test page, this printer is not a ordinary printer and normal windows programs (inclucing this wizard) cannot print to it
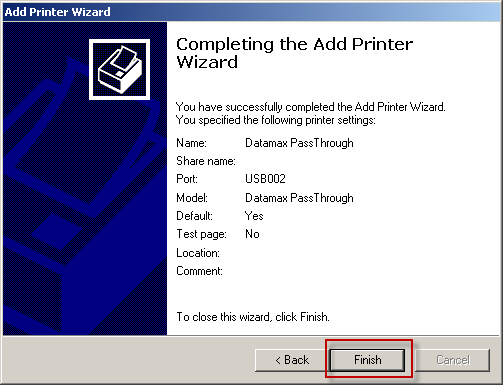
Step 19
You have now successfully added the printer
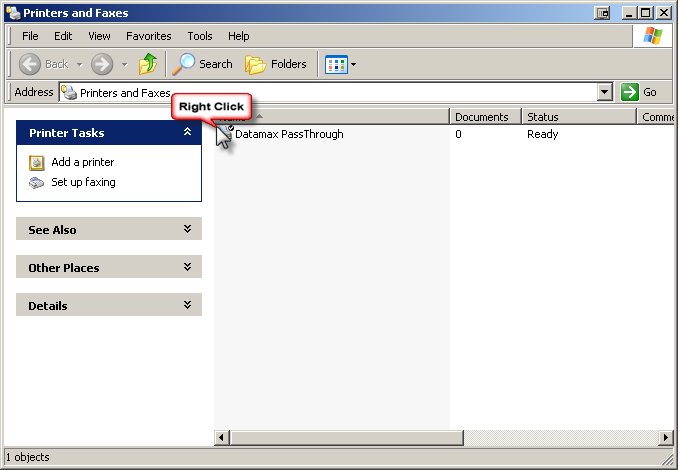
Step 20
There is just a few configuration options to go. Right click the printer
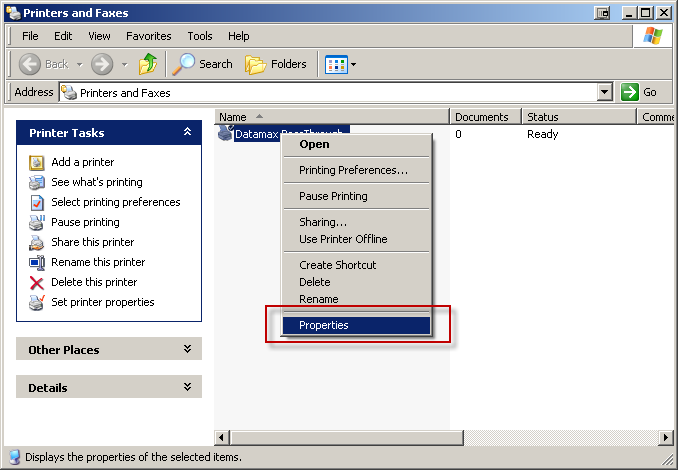
Step 21
Select the properties option from the menu
Step 22
On the settings tab select "Add a carriage return" option

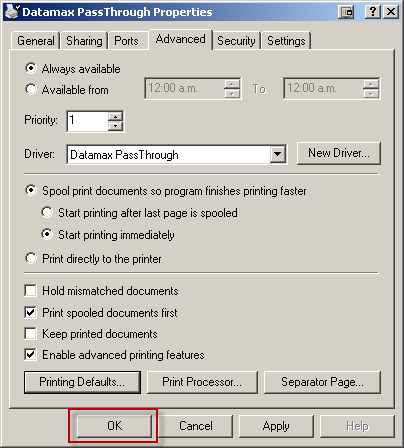
Step 23
On the Advanced tab, click Printing defaults

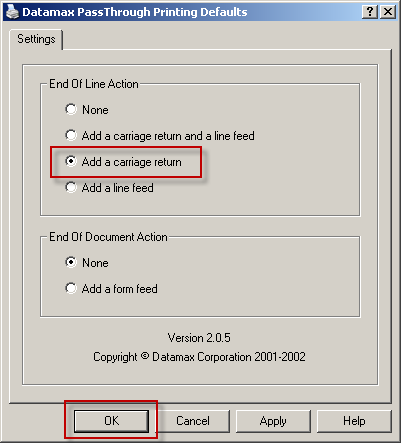
Step 24
Select "Add a carriage return" option, click OK
Step 25
Click OK to exit the Properties window
Step 26
You can now set up your printer on the thermal printer setup page and print a test label. If you wish you can now safely delete the downloaded driver files